------------------------
Part 2//Creating a Flower, Assembling a Ball
------------------------
Step 1:
So, in the last tutorial you created one petal. To make one flower, you'll need five petals. To assemble those flowers into a dodecahedron, you'll need 12 flowers, or 60 petals... So fold away! This certainly is the most time consuming part.
Step 2:
Once you're passed the 60 petal endeavor, you're pretty much finished. Assembling is a cakewalk. To create one flower you'll want to add your adhesive to the areas that connect the folds in the petals.
60 petals, and 12 flowers later you'll have a pretty pile on your work area.
Step 3:
Connecting the flowers can be a little tricky, you'll want to conjoin three petals at a time so that they connect at a singular point. Don't worry about being overly precise, but you'll need to focus a little at this point if you don't your ball to turn out misshapen.
Six flowers later, you'll get a hemisphere of your ball. Now you can start on the other hemisphere.
Step 4:
Now you've got two hemispheres and hanging material with some sort of decorative stopper. I've fashioned a paper cloth wire and a decorative bell for this example.
Before conjoining the two hemispheres be sure to embed the hanging materials of choice. Then add your adhesive, and complete your ball.
Yay! All done!~
Tuesday, December 20, 2011
Monday, December 19, 2011
Kusuda Origami Ball Tutorial Part 1
Hey everyone! Origami has always been a great interest of mine and I'd thought I'd share this fun project with you guys. It's pretty easy, and can easily be assembled by the very novice of origami connoisseurs and yields pretty impressive results... Although it may take some time to do, maybe a couple of hours.
Things you'll need:
-60 sheets of square paper (makes 12 flowers)
-1 roll of double-sided tape, other tutorials I've come across use liquid glue, but when working with a three-dimensional shape, I like to use an adhesive that bears almost complete control.
-Wire or string with some sort of decorative 'stopper' to hang the completed ball with.
-Patience, focus, and about two hours of your time.
------------------------
Part 1//Creating a Petal
------------------------
Step 1:
You've got your paper! Turn it over so that the decorative side is facing the surface of your work area. Then fold the paper shown in the second image. The third image is what your paper should now look like.
Step 2:
Now, taking the bottom corners of the triangle, fold so that the bottom points meet the top.
Step 3:
Now, where the two orange-yellow lines are indicated, you'll want to fold so that these two edges meet. Apply this step on both sides.
Step 4:
Open one of the 'wings' and flatten, apply this step on both sides.
Step 5:
Fold, indicated by the orange-yellow line. Again, apply this step to both sides.
Step 6:
Fold again, indicated with the orange-yellow lines. Repeat for the other side.
Step 7:
The surfaces marked with the orange-yellow lines are the areas where you'll want to add the double sided tape or adhesive of your choice, make sure not to fold and flatten, merely bend until the two surfaces meet. Now you have a petal! Congratulations!
I'll upload the second part of the tutorial tomorrow, so stay tuned!~
Friday, November 25, 2011
Holiday Scrapbooking Extravaganza!
So! We're going to be participating in something called:
Hosted by Dutch Sparky on her blog here
Here is a preview of our origami inspired holiday set, available from Dec 1- Dec 31. Stay tuned!
Hosted by Dutch Sparky on her blog here
Here is a preview of our origami inspired holiday set, available from Dec 1- Dec 31. Stay tuned!
Monday, November 14, 2011
Brave 2012
I don't know if I'm super late to knowing about this. I think I might be, but who cares! I'm a pixar child, so I was ecstatic to learn that there's a new movie ready to be released next summer 2012, 'Brave'! The last kid's movie I've seen recently was oddly enough, 'Secret of the Kells'. A really superb movie, adorable and beautifully animated and drawn. I wonder how pixar's 'brave' will own up to being influenced by an Irish/Celtic aesthetic.
If you haven't seen 'Secret of the Kells', I highly recommend it!
If you haven't seen 'Secret of the Kells', I highly recommend it!
Saturday, November 12, 2011
I love you so beary much
It's too much to bear! Haha! New prints! Oh yes, I'm so clever with words.
Bonus! This beary special illustration is made into a blank card, blue coordinating envelope is included!
Bonus! This beary special illustration is made into a blank card, blue coordinating envelope is included!
Posted by
♥Bobbin4apples♥
at
10:55 AM
0
comments

 Labels:
art fold bear print for sale etsy bobbin4apples
Thursday, November 10, 2011
Chinese Inspired Paper Cutting Prints
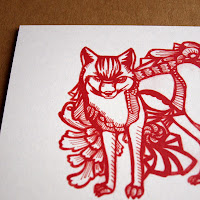
I've always really loved the art of ornate Chinese paper cutting, or the actual term: "Jianzhi". The shapes are so simple yet the play on positive negative space makes a whole web of intricate designs. So here are my Jianzhi inspired fox prints!
Sitting Fox
Sleeping Fox
Curious Fox
Attentive Fox
Naturally, I picked the coloring to be red. :)
Sitting Fox
Sleeping Fox
Curious Fox
Attentive Fox
Naturally, I picked the coloring to be red. :)
Posted by
♥Bobbin4apples♥
at
8:56 AM
0
comments

 Labels:
art print for sale etsy original illustration
Sunday, November 6, 2011
Artist: Cristina from Sombras Blancas Art
Cristina is a talented self-taught artist residing in Spain. Her work is so entrancing! I love the line work she mixes together in her pieces, very weighted and textured, yet simple and clean.
My favorite is the snail! She's mainly a print and paper artist, but she also sells brooches and pins of her work. You can check out her etsy shop here.
My favorite is the snail! She's mainly a print and paper artist, but she also sells brooches and pins of her work. You can check out her etsy shop here.
Friday, November 4, 2011
The Secret World of Arrietty!
It was announced recently that Studio Ghibli's newest film, "The Secre World of Arriettt" is going to be released here in the states on February 17th 2012, by Walt Disney! How devastating! Waiting until next year is too long!
I didn't want to spoil myself by researching too in-depth into the storyline, all I know is that the main little girl lives under the floorboards of a house...>__>
I.Can't.Wait!
I didn't want to spoil myself by researching too in-depth into the storyline, all I know is that the main little girl lives under the floorboards of a house...>__>
I.Can't.Wait!
Thursday, November 3, 2011
Drum Roll Please!
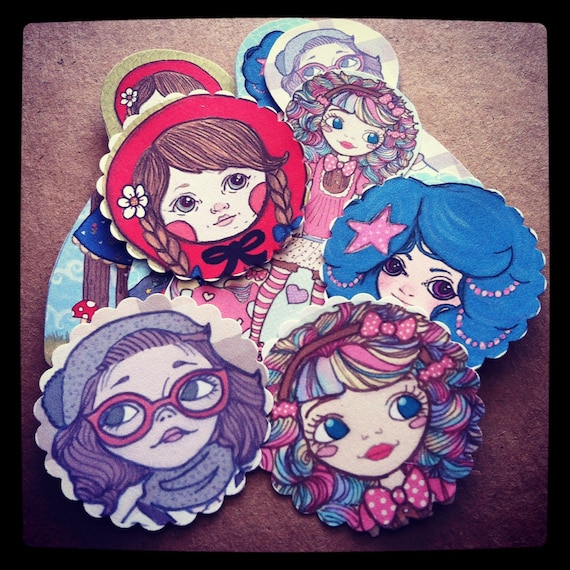
We've been wanting to put these new dolls up for FOR-EVER! And finally on a great sunny day we took pictures to show the world our new line of plush dolls! Introducing the fabulous.....KIDDO DOLLS! Here's Looking at You, Kiddo!
And amazing stickers!
And amazing stickers!
Saturday, October 29, 2011
A bundle of Sorts!
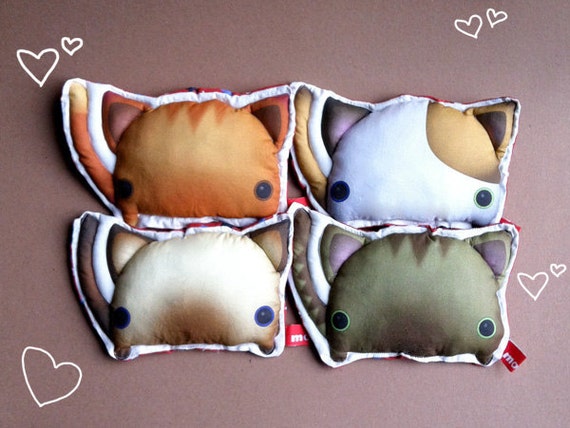
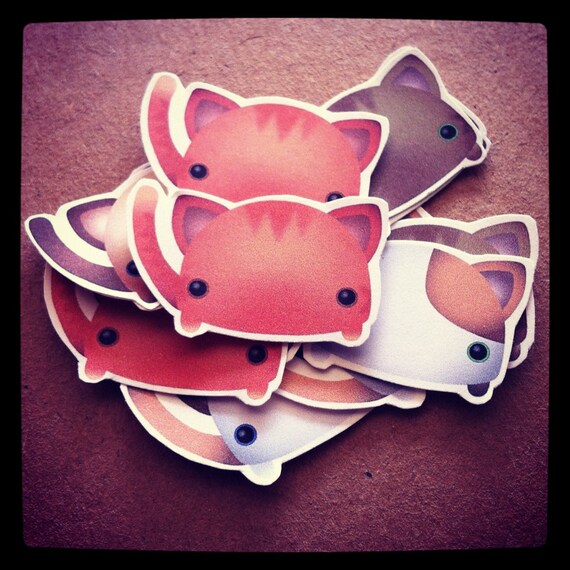
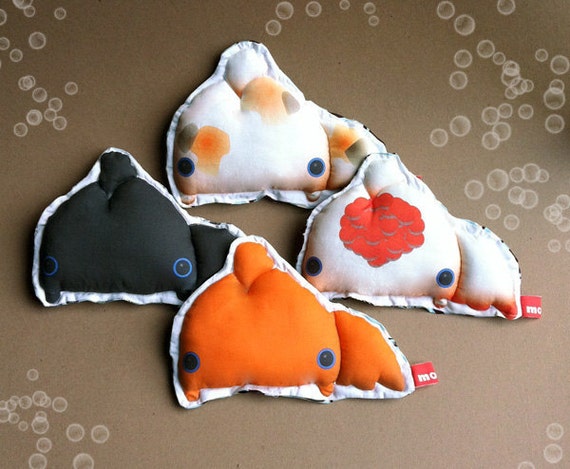
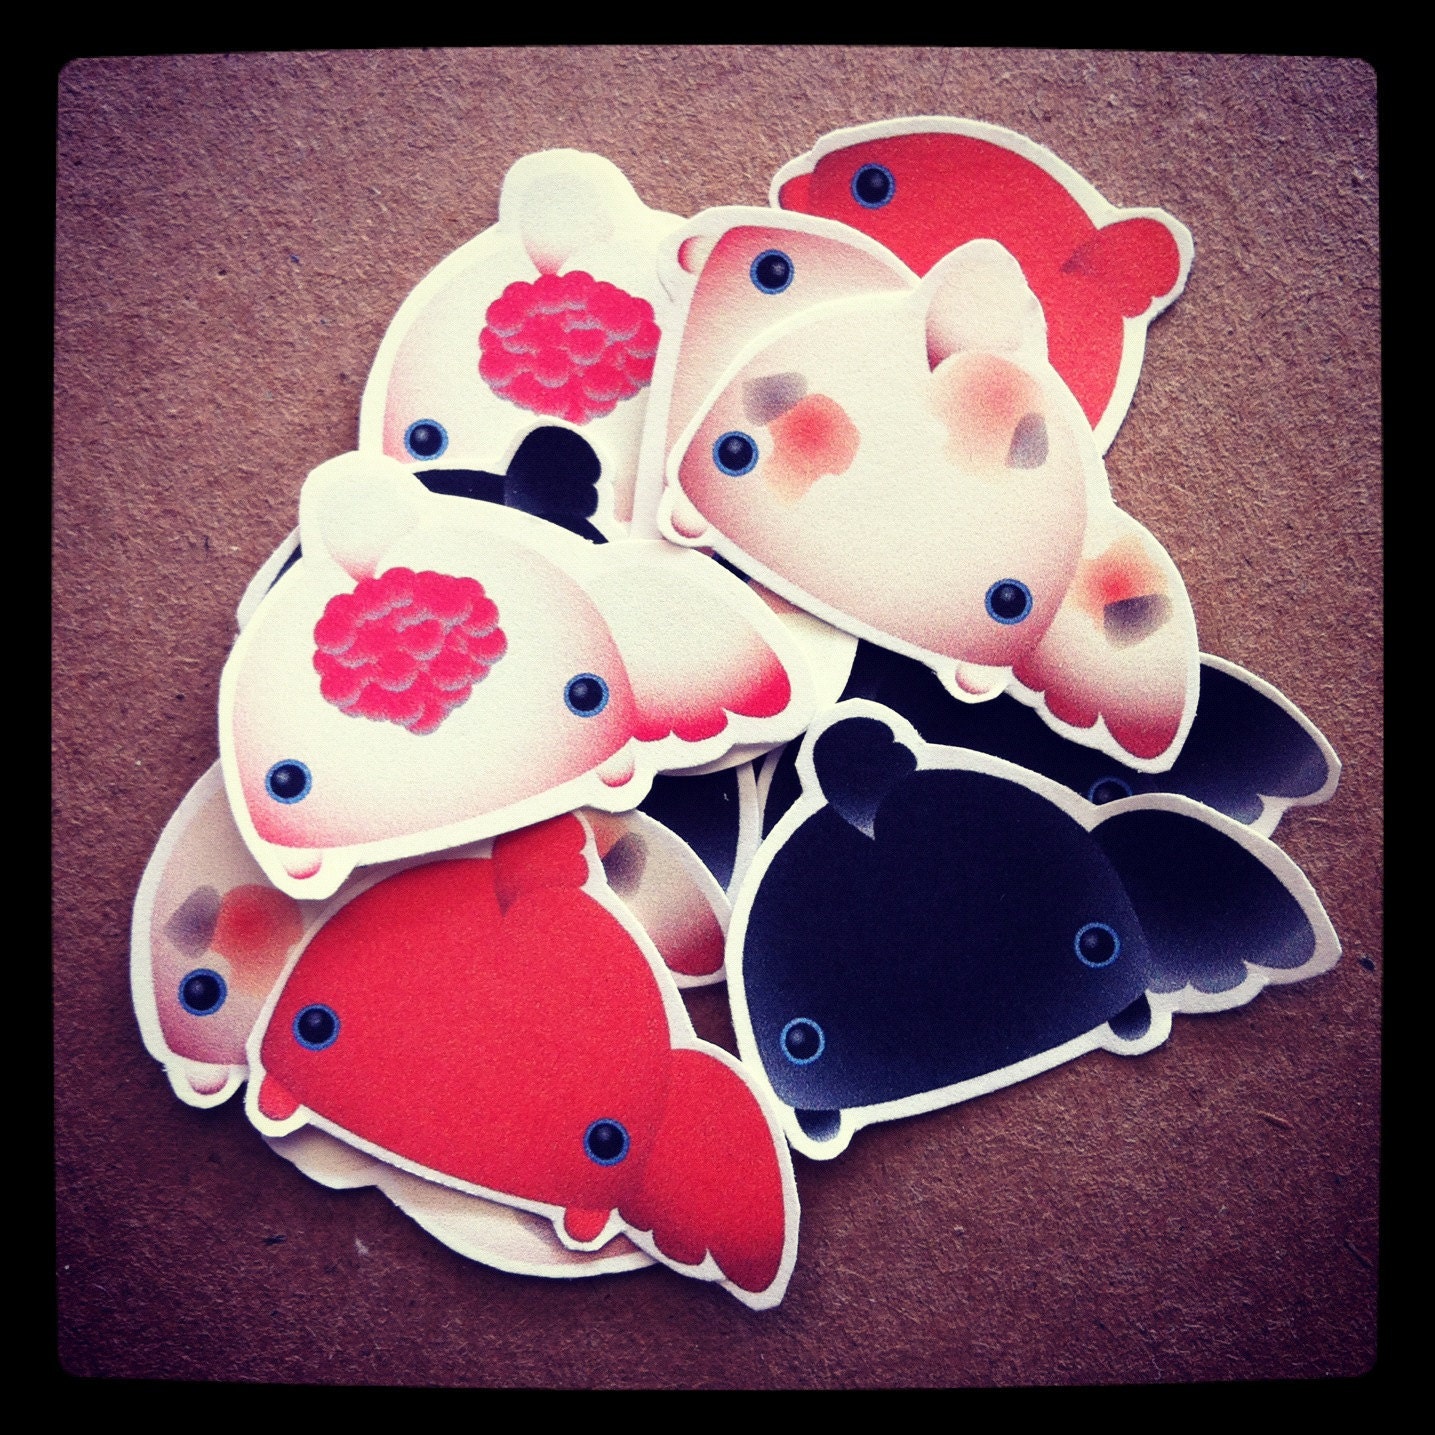
More for the glory of Mochis! Now we've got kitties and goldfish both in plush and sticker form at our etsy shop! A-dorable.
Saturday, October 15, 2011
Baby Longbottoms are born!
The newest additions at our etsy shop to our ever growing Longbottom family! Introducing our Baby Longbottom animal scarves, made with love, to adorn and keep your younglings warm and toasty!
Originally made for children, but we discovered that they fit adult adults as well, although more as a 'scarflet'. ^__^;
Onward to the pictures!
Originally made for children, but we discovered that they fit adult adults as well, although more as a 'scarflet'. ^__^;
Onward to the pictures!
Subscribe to:
Posts (Atom)


